|
|
|
|
The Wind Is Not Your Friend (or Enemy). It’s a Variable.
|
You run a clean race or rep. It feels fast. People nod. Then someone says:
|
Or the opposite: you grind out a “slow” time into a headwind and quietly wonder if you actually just ran your best race in months.
|
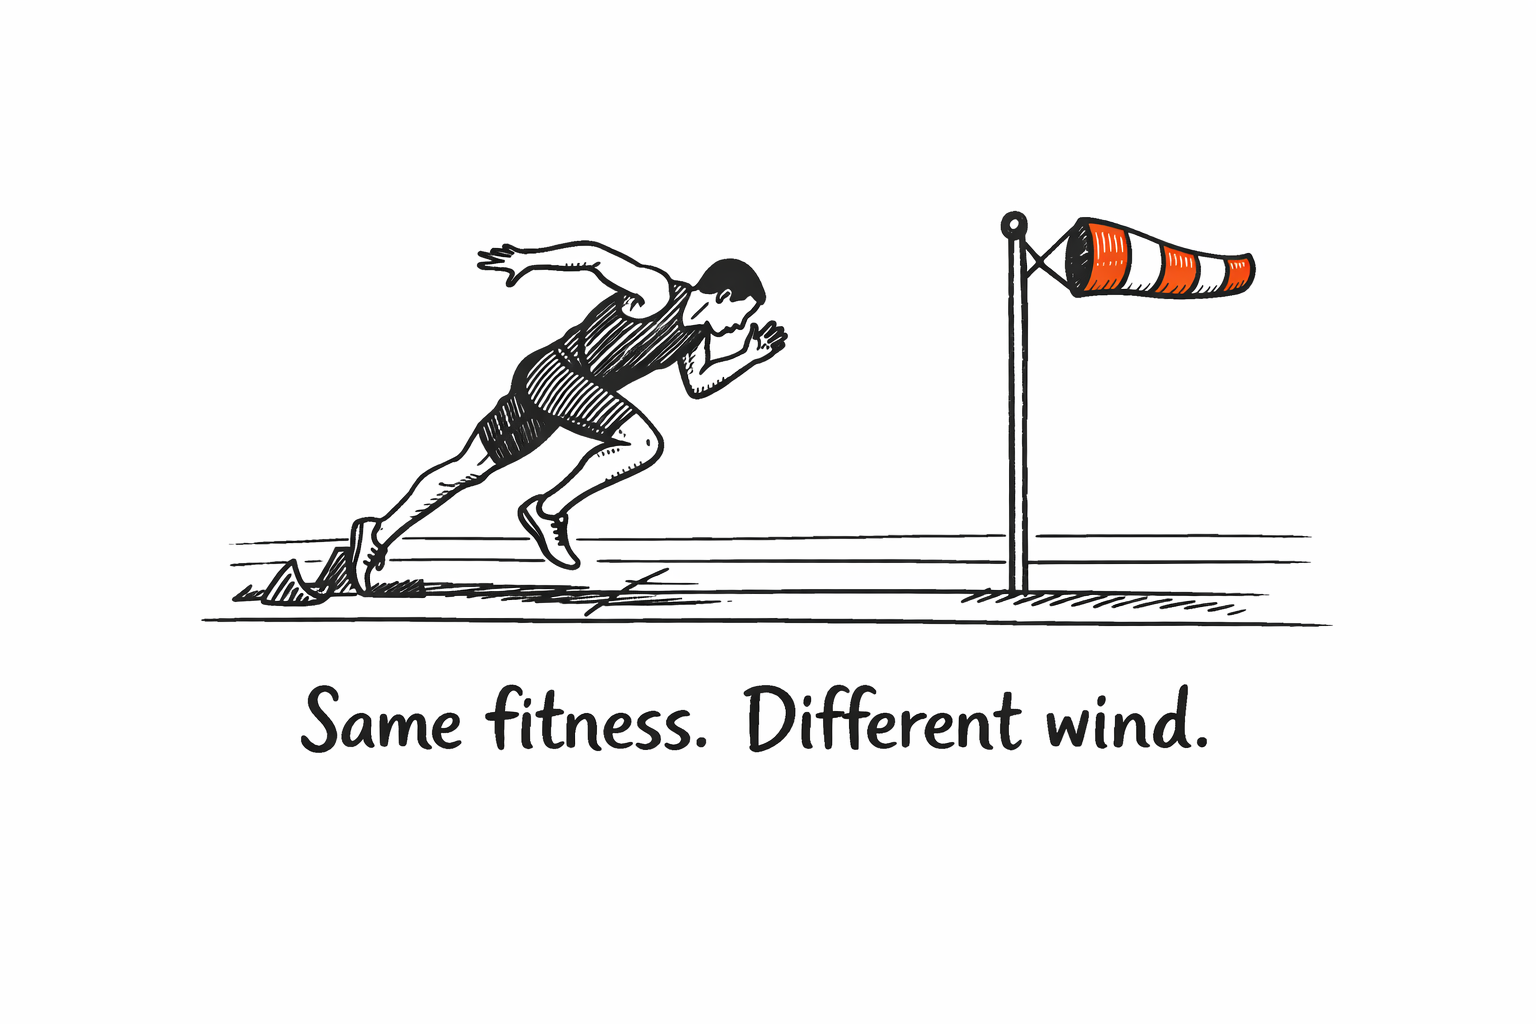
Wind is not a moral judgment. It is a performance modifier.
|
|
And if you are evaluating sprint speed across different days, different venues, or different athletes, you either correct for wind, or you accept that you are comparing apples to… leaf blowers.
|
|
|
|
|
The 20-Second Mental Model
-
|
Tailwind makes times faster than “still air.”
|
-
|
Headwind makes times slower than “still air.”
|
-
|
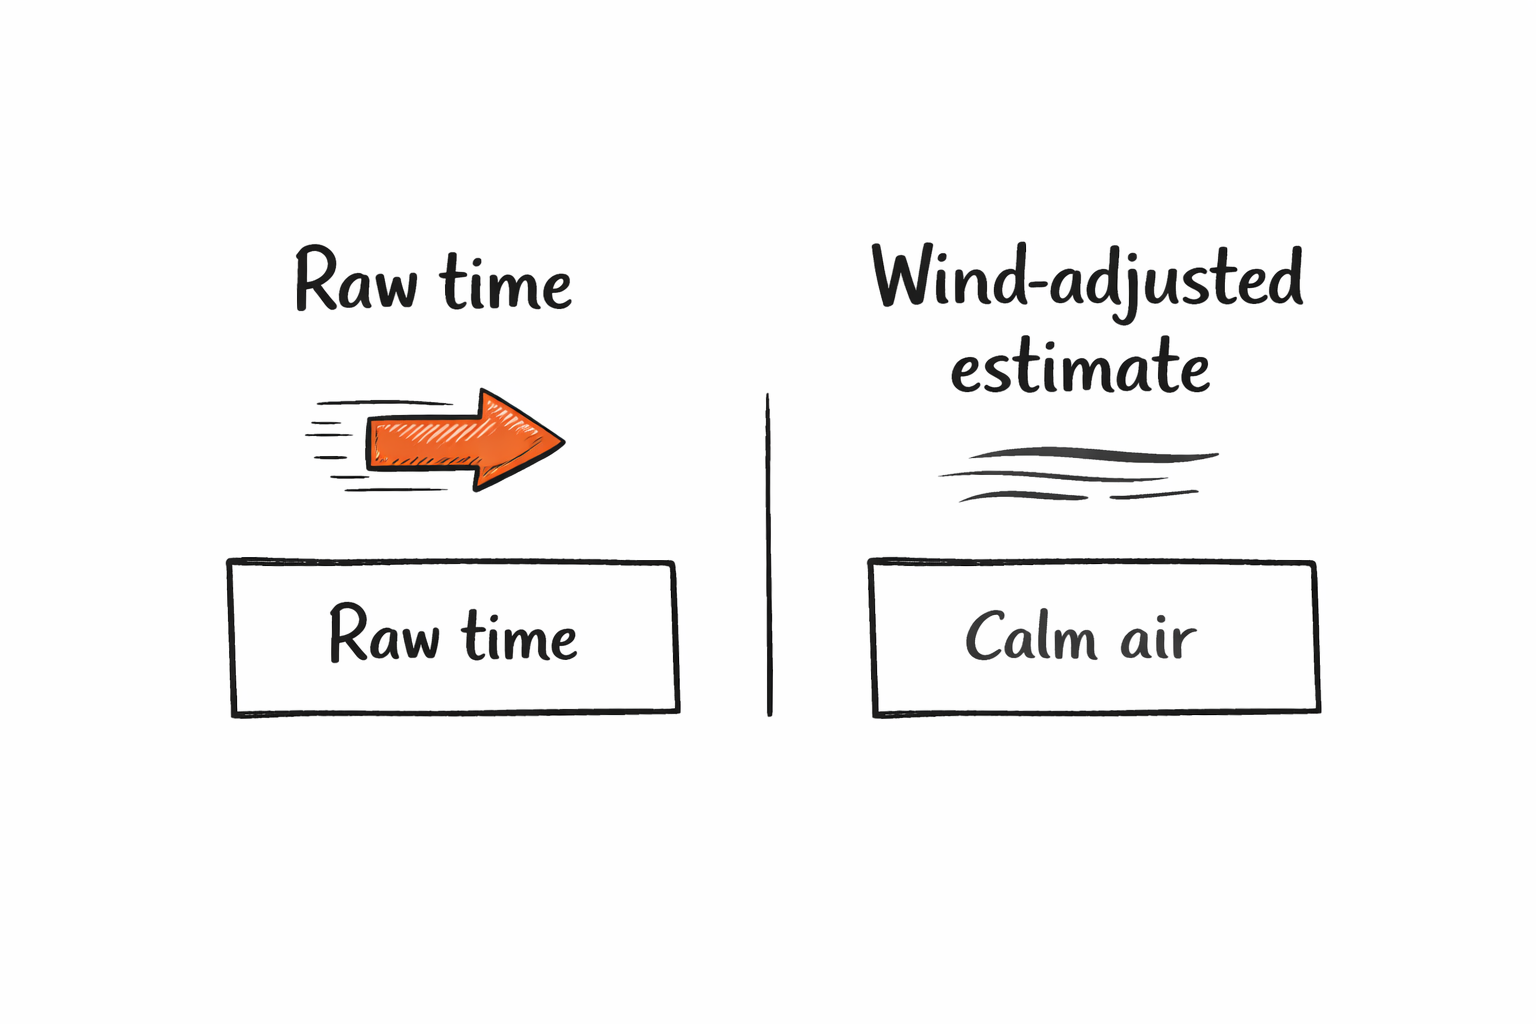
Wind correction estimates what the performance would look like under neutral conditions, so you can compare efforts more fairly.
|
*Important interpretation:
|
-
|
A wind-corrected time is not a guarantee of what you “would have run” that day.
|
-
|
It is a context tool that improves comparisons.
|
|
|
|
When Wind Correction Actually Matters
Use wind correction when you need clarity across noisy conditions:
|
-
|
Comparing athletes in tryouts across different heats or time slots
|
-
|
Comparing your season’s progress when meets have different wind profiles
|
-
|
Comparing training reps or races on different days or different straightaways
|
|
|
How to Use the Calculator (Coach and Athlete Workflow)
-
|
Enter the event (for example: 100m or 200m, if supported).
|
-
-
|
Enter the wind reading (positive tailwind, negative headwind, depending on your meet’s convention).
|
-
-
-
|
Your wind-adjusted estimate
|
|
Then do the key step people skip:
|
Use it to answer a decision question
-
|
Was this performance better than last month, or just windier?
|
-
|
Is Athlete A actually faster than Athlete B, or did they get different conditions?
|
-
|
Did today’s speed session improve, or did you simply run with a push?
|
|
|
|
|
|
|
|
|
The 4 Interpretation Mistakes That Wreck Coach Decisions
1) Treating wind-corrected as “the truth”
Wind correction is an estimate. Use it as a lens, not a courtroom verdict.
|
2) Ignoring direction changes
If you test with different run directions (or a curved track section), your wind exposure changes. Note the direction.
|
3) Mixing legal and non-legal wind without labeling
A +2.0 reading has specific meaning in some contexts for record purposes. Your training interpretation can still use correction, but label the conditions clearly.
|
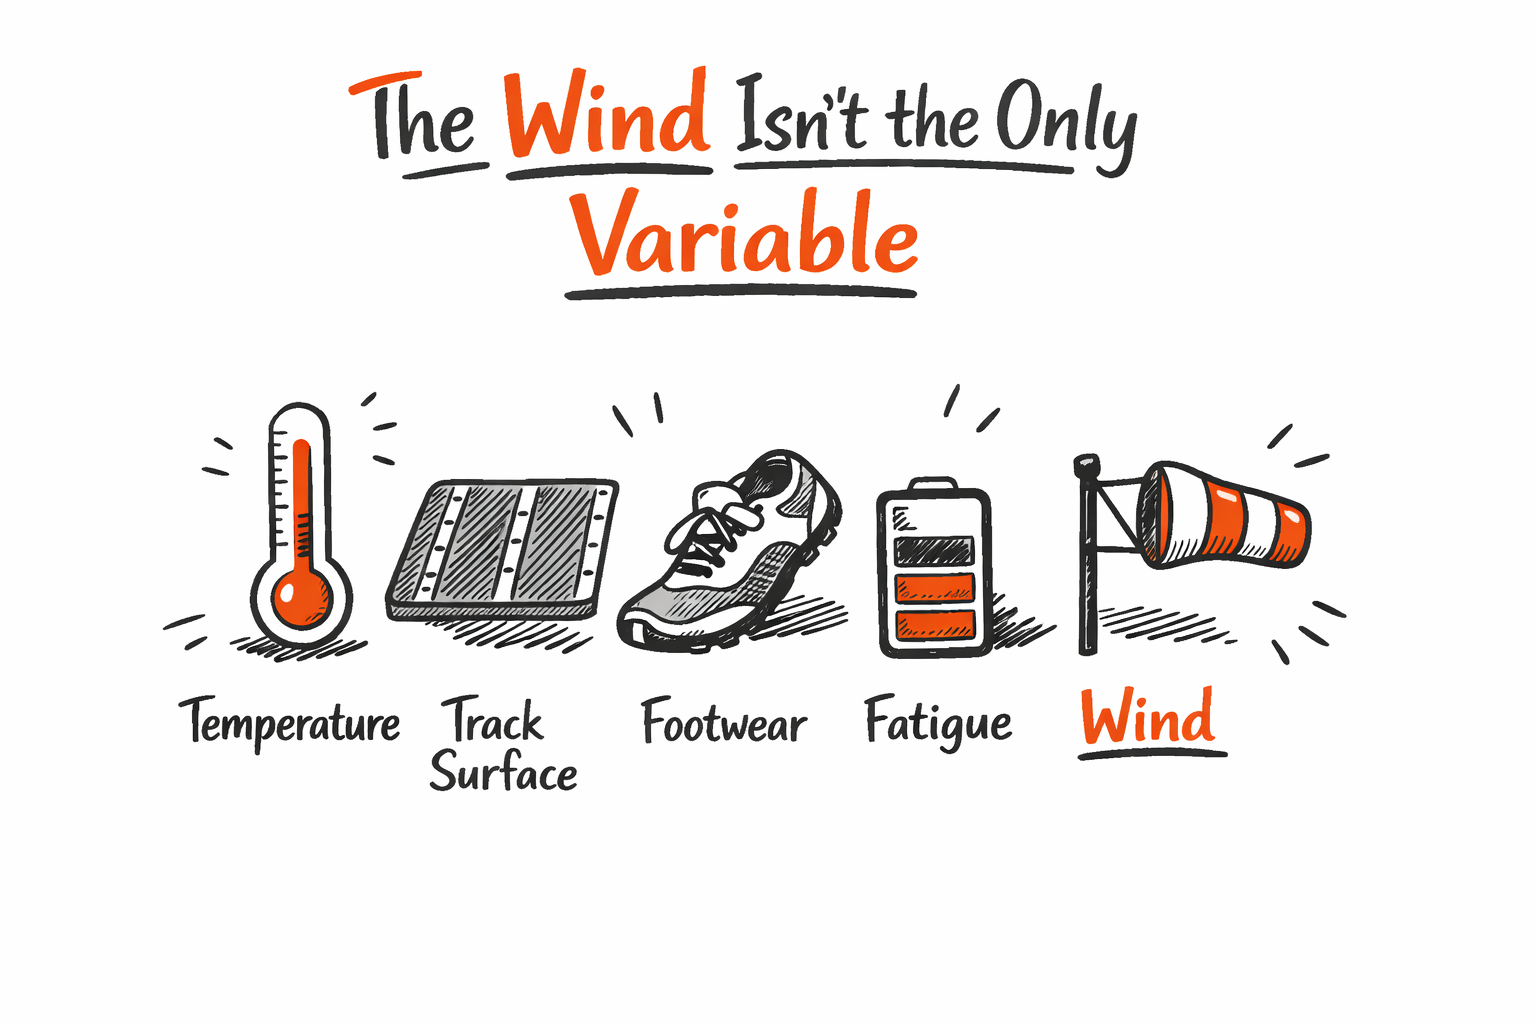
4) Forgetting that wind is not the only variable
|
Temperature, track surface, reaction/start context, competition, fatigue, and footwear all matter. Wind correction does not replace coaching, it improves it.
|
|
|
|
|
|
|
|
|
|
Thanks for reading. See you soon!
|
|
|
|
|
The Science of Anthropometrics and Sprinting
|
|
|
|
Anthropometrics do not determine whether an athlete can sprint fast, but they shape how each athlete creates speed. This post explains how height, limb length, torso proportions, body mass, and stiffness influence acceleration, max velocity, stride length, stride frequency, and sprint technique. Learn how to use body structure as a coaching map instead of forcing every sprinter into the same model.
|
|
|
|
|
|
|
|
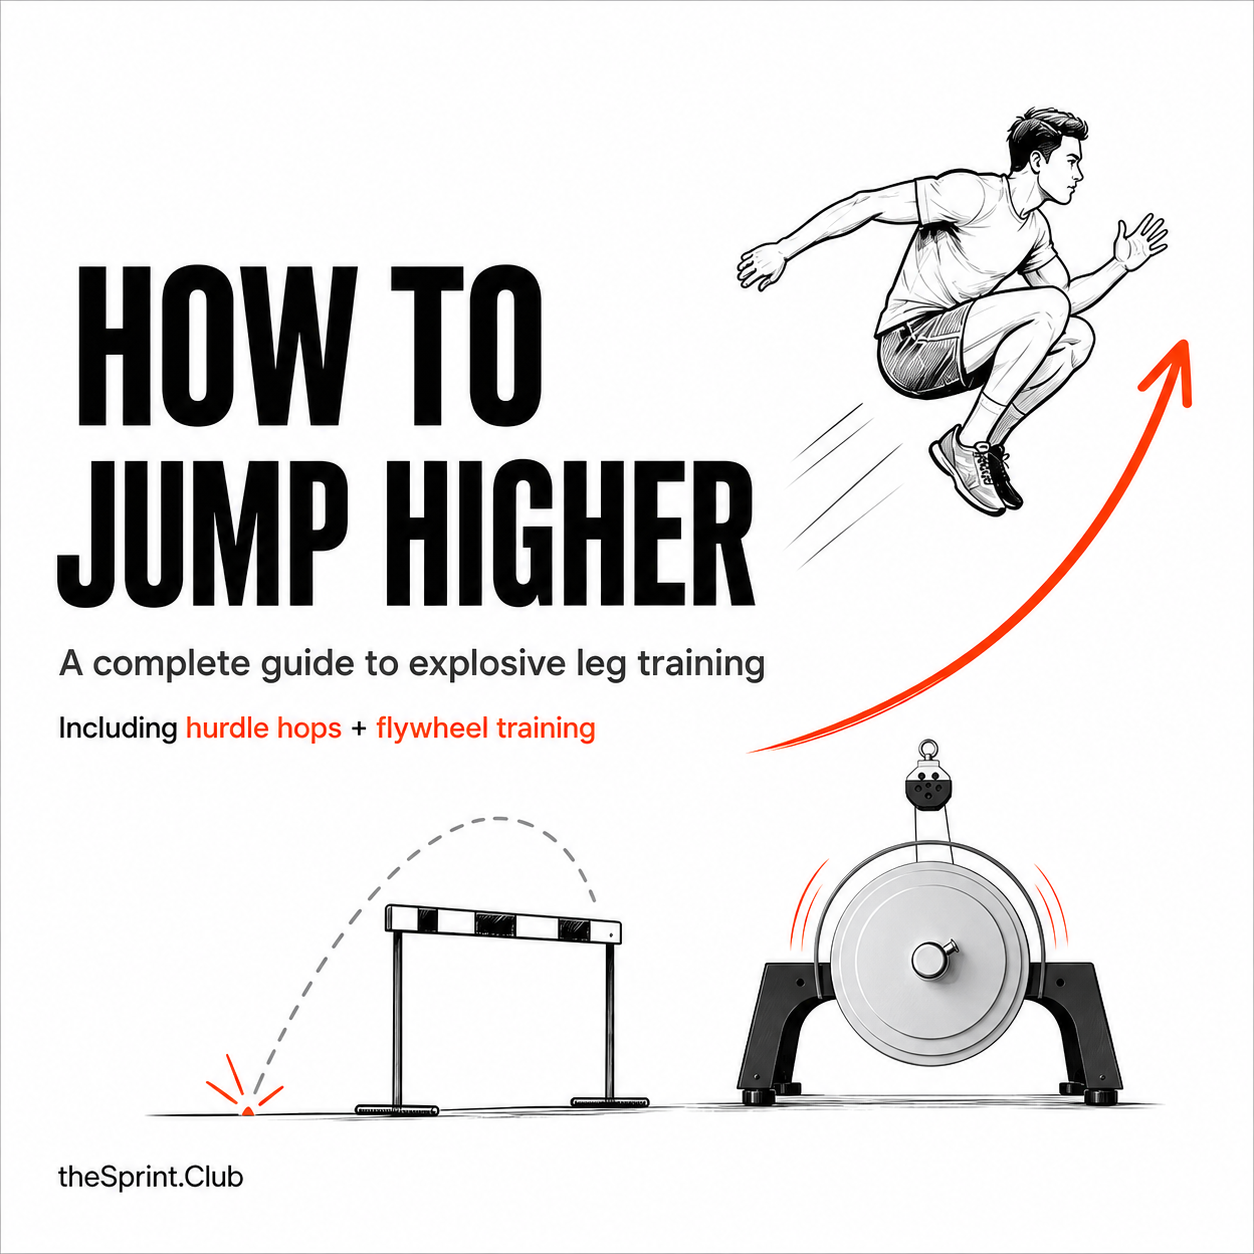
How to Jump Higher: A Complete Guide to Explosive Leg Training
|
|
|
|
Want to jump higher? This guide breaks down the strength, stiffness, reactive power, and recovery principles behind explosive jumping. Learn how to use hurdle hops, flywheel training, plyometrics, and smart strength work to build more force, waste less energy, and rebound faster.
|
|
|
|
|
|
|
|
|