|
|
|
|
THE PRETENSION PRINCIPLE
|
You can spot a fast athlete before they move.
|
Not by their stride.
Not by their times.
|
|
Even at rest, strong, explosive athletes don’t look “relaxed.” Their feet carry a subtle readiness, toes slightly flexed, tension without rigidity. Not clenched. Not limp.
|
|
|
THE OBSERVATION
|
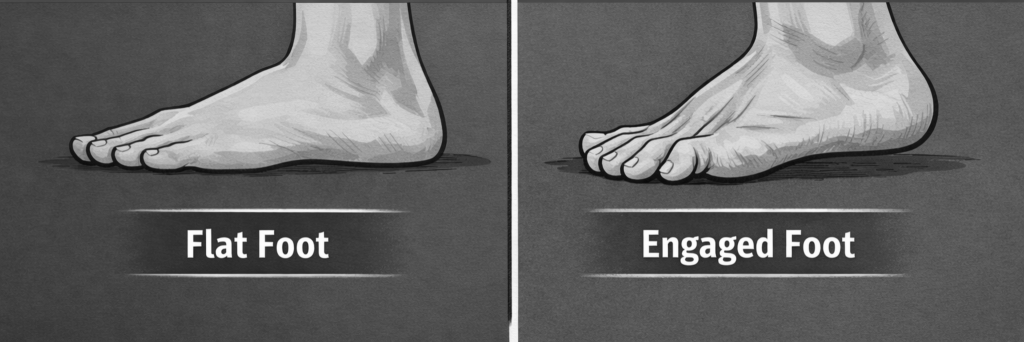
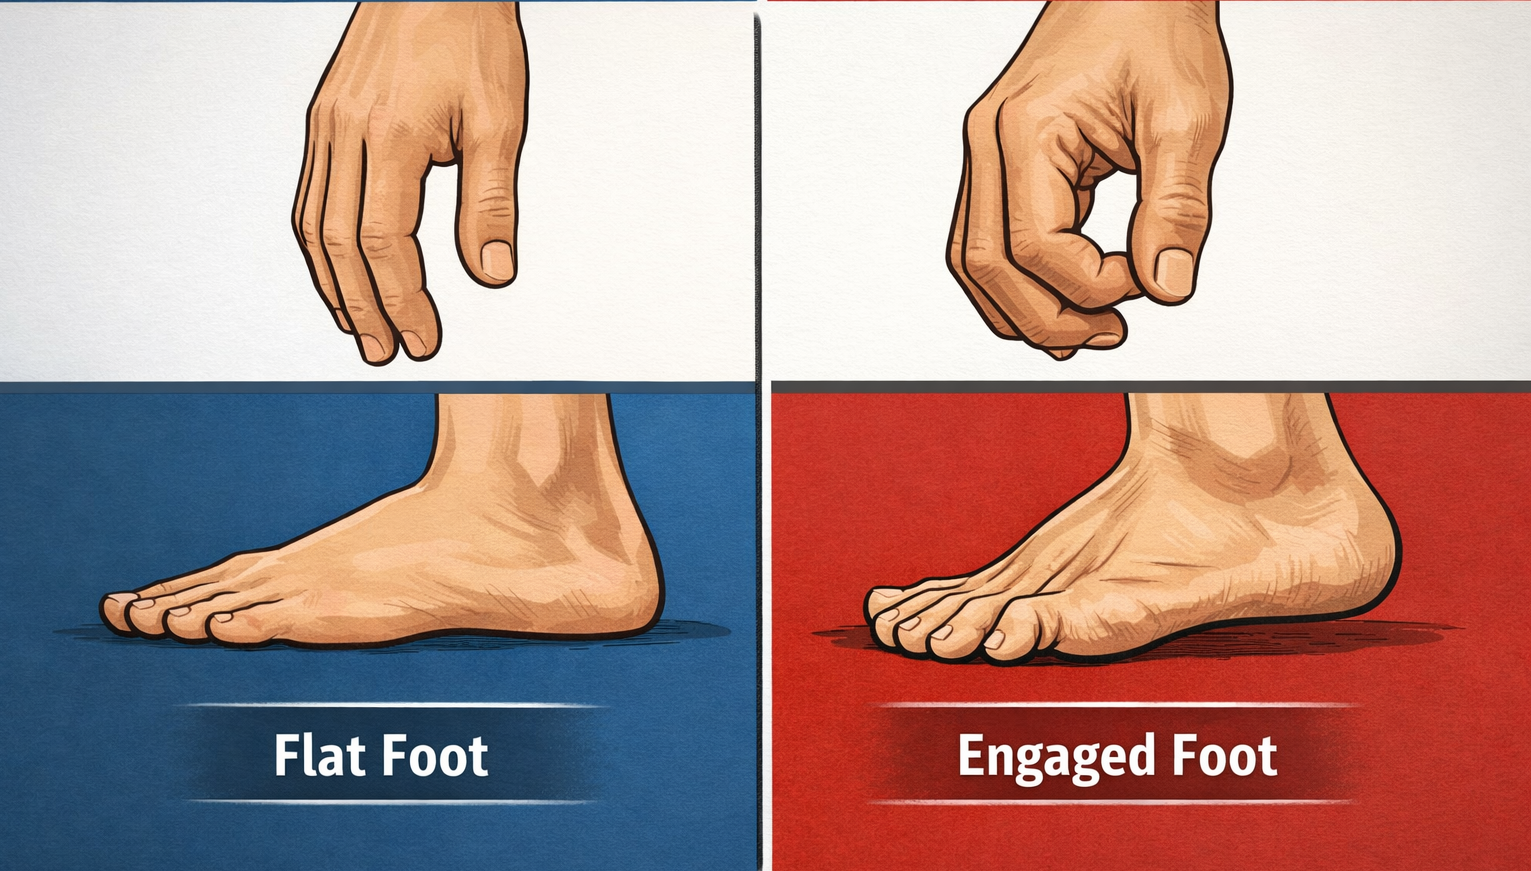
In high-performing sprinters and explosive athletes, the resting shape of the foot mirrors the hand.
|
There is structure.
There is tone.
There is pretension.
|
Toes are not flat and spread lifelessly into the ground. The arch is not collapsed into passive contact. The foot holds a quiet readiness, just like the hand of someone strong.
|
THE PROBLEM
-
|
Overly relaxed and weak feet (no tension, no readiness)
|
|
Flat, inactive feet at rest are often a sign of lack of foot and ankle strength
|
|
And that matters more than it seems.
|
|
Because your feet have to transmit force to the groun, if the feet are weak, you leak force and reactivity suffers.
|
|
|
|
THE SCIENCE (SIMPLIFIED)
-
|
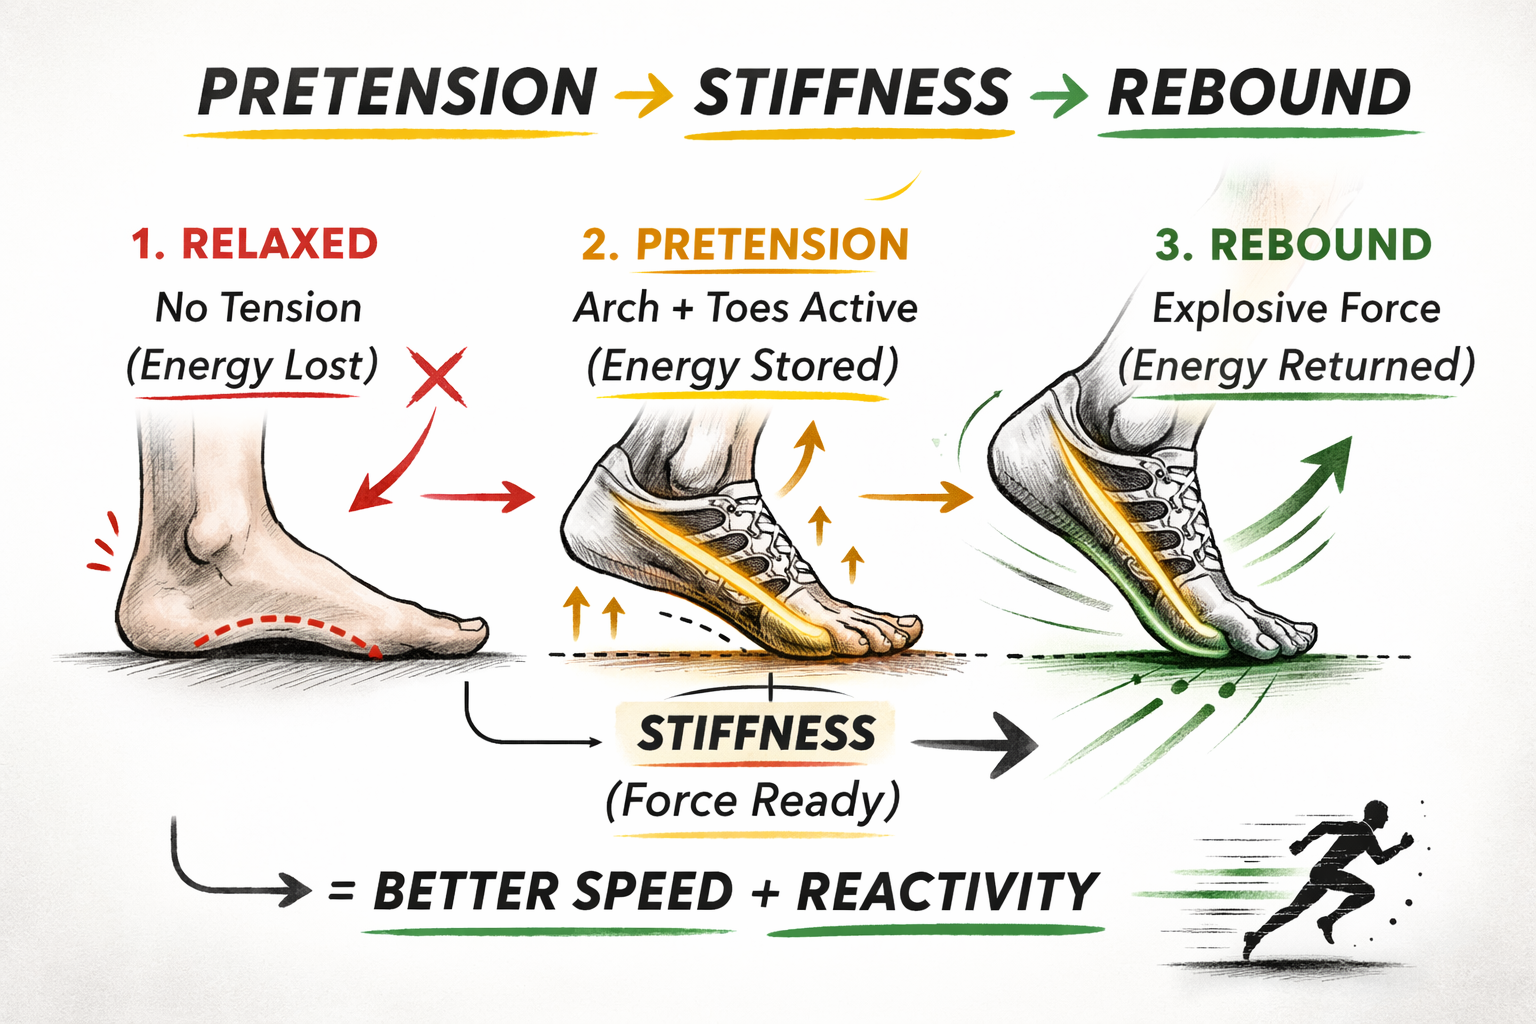
Higher tendon stiffness improves force transmission and reduces energy loss
|
-
|
Elastic structures (Achilles, plantar fascia) rely on preloading to produce fast, efficient movement
|
-
|
Reactive performance depends on how quickly force can be applied and released, not just how much force is produced
|
|
[Source examples: Weyand et al., 2000; Kubo et al., 1999; Bohm et al., 2015]
|
|
A completely relaxed system has to “find” tension before producing force.
|
A pre-tensioned system is already there.
|
|
|
|
THE 2-SECOND TEST
|
Have your athlete stand barefoot.
|
|
Do nothing else. Just observe.
|
Ask one question:
Do the feet look pretensed like the hands?
|
|
|
HOW TO BUILD FOOT AND ANKLE STRENGTH (WHEN YOU SEE WEAKNESS)
|
If the foot looks flat, inactive, or "dead" at rest, treat it like any other weak link. Build strength, then teach it to express stiffness and reactivity at sprint speeds.
|
1) Rebuild the base, short foot and toe control
- Short-foot holds: stand barefoot, pull the ball of the foot toward the heel to lift the arch without curling the toes. Hold 10 to 20 seconds, 5 to 8 reps per foot.
- Toe yoga: big toe down, other toes up, then switch. 2 to 3 sets of 10 to 15 controlled reps.
2) Load the Achilles and calf, strength before bounce
- Heavy calf raises (straight knee) for gastroc: 3 to 5 sets of 5 to 8 reps, slow up and 3 seconds down.
- Bent-knee soleus raises: 3 to 4 sets of 8 to 12 reps.
- Isometrics (mid-range heel raise): 45 to 90 seconds, 3 to 5 holds.
3) Train stiffness and elasticity, progress to pogo work
- Ankling and low pogo hops: start small, stay tall, quick contacts, quiet feet. 2 to 4 sets of 10 to 20 contacts.
- Progress to single-leg pogos only when the double-leg version is quiet and springy.
4) Weekly dosing (simple)
- Daily: short-foot + toe control (5 minutes).
- 2 to 3 days per week: loaded calf and soleus strength.
- 2 days per week: low-level plyos, pogo progressions.
|
|
|
|
|
|
|
|
|
Thanks for reading. See you soon!
|
|
|
|
|
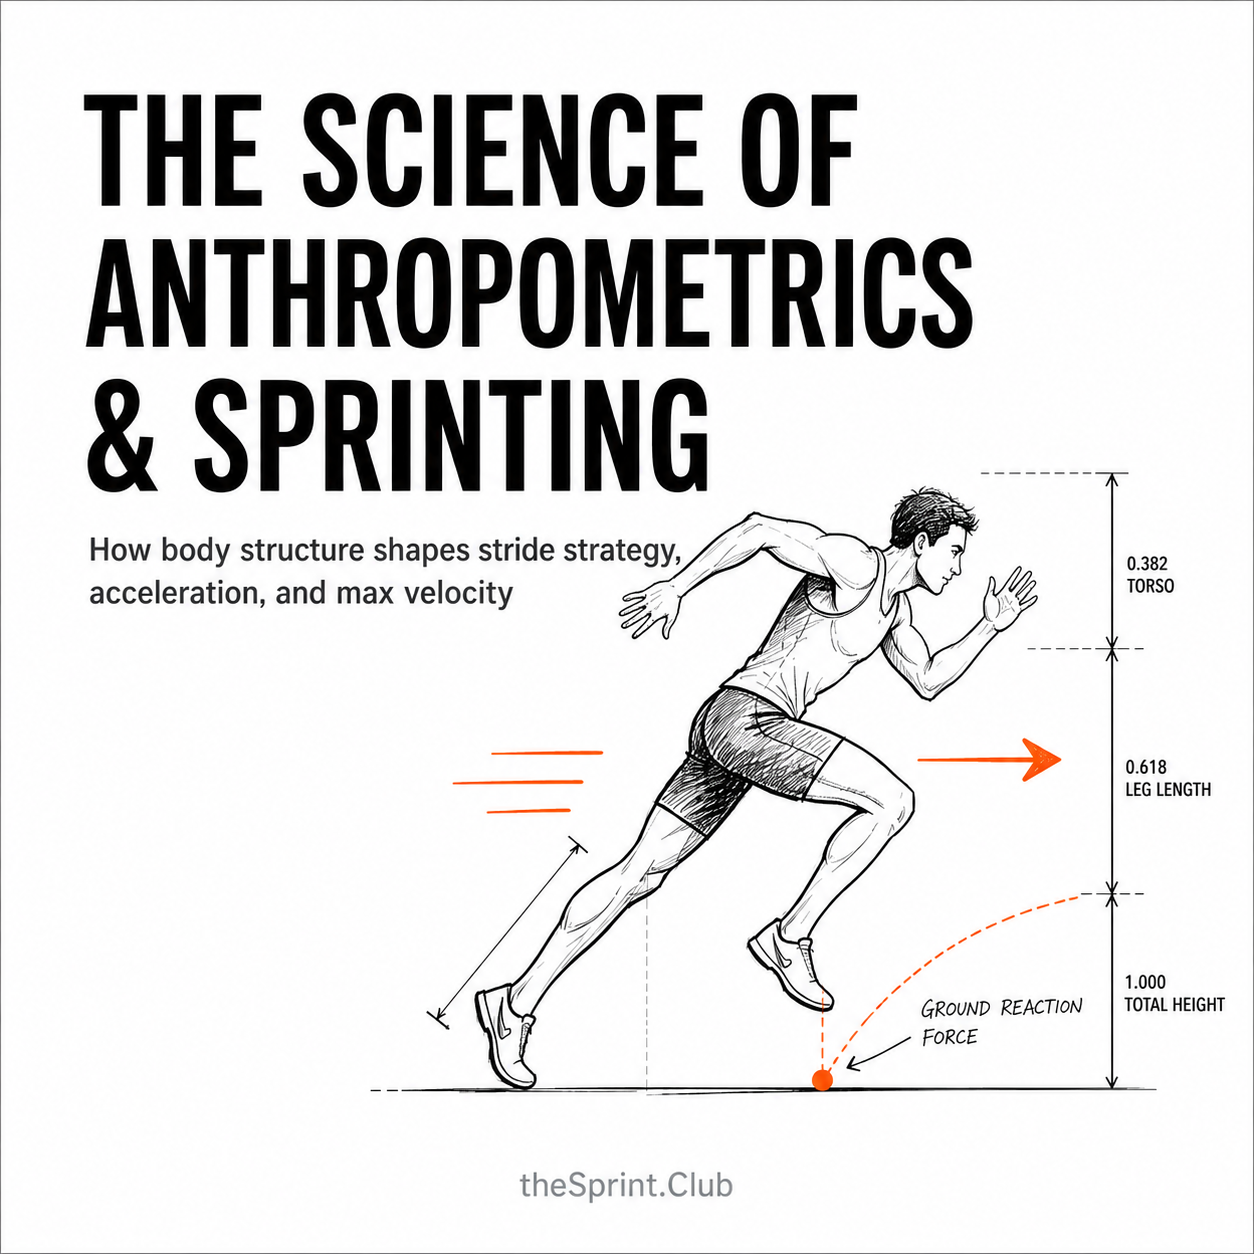
The Science of Anthropometrics and Sprinting
|
|
|
|
Anthropometrics do not determine whether an athlete can sprint fast, but they shape how each athlete creates speed. This post explains how height, limb length, torso proportions, body mass, and stiffness influence acceleration, max velocity, stride length, stride frequency, and sprint technique. Learn how to use body structure as a coaching map instead of forcing every sprinter into the same model.
|
|
|
|
|
|
|
|
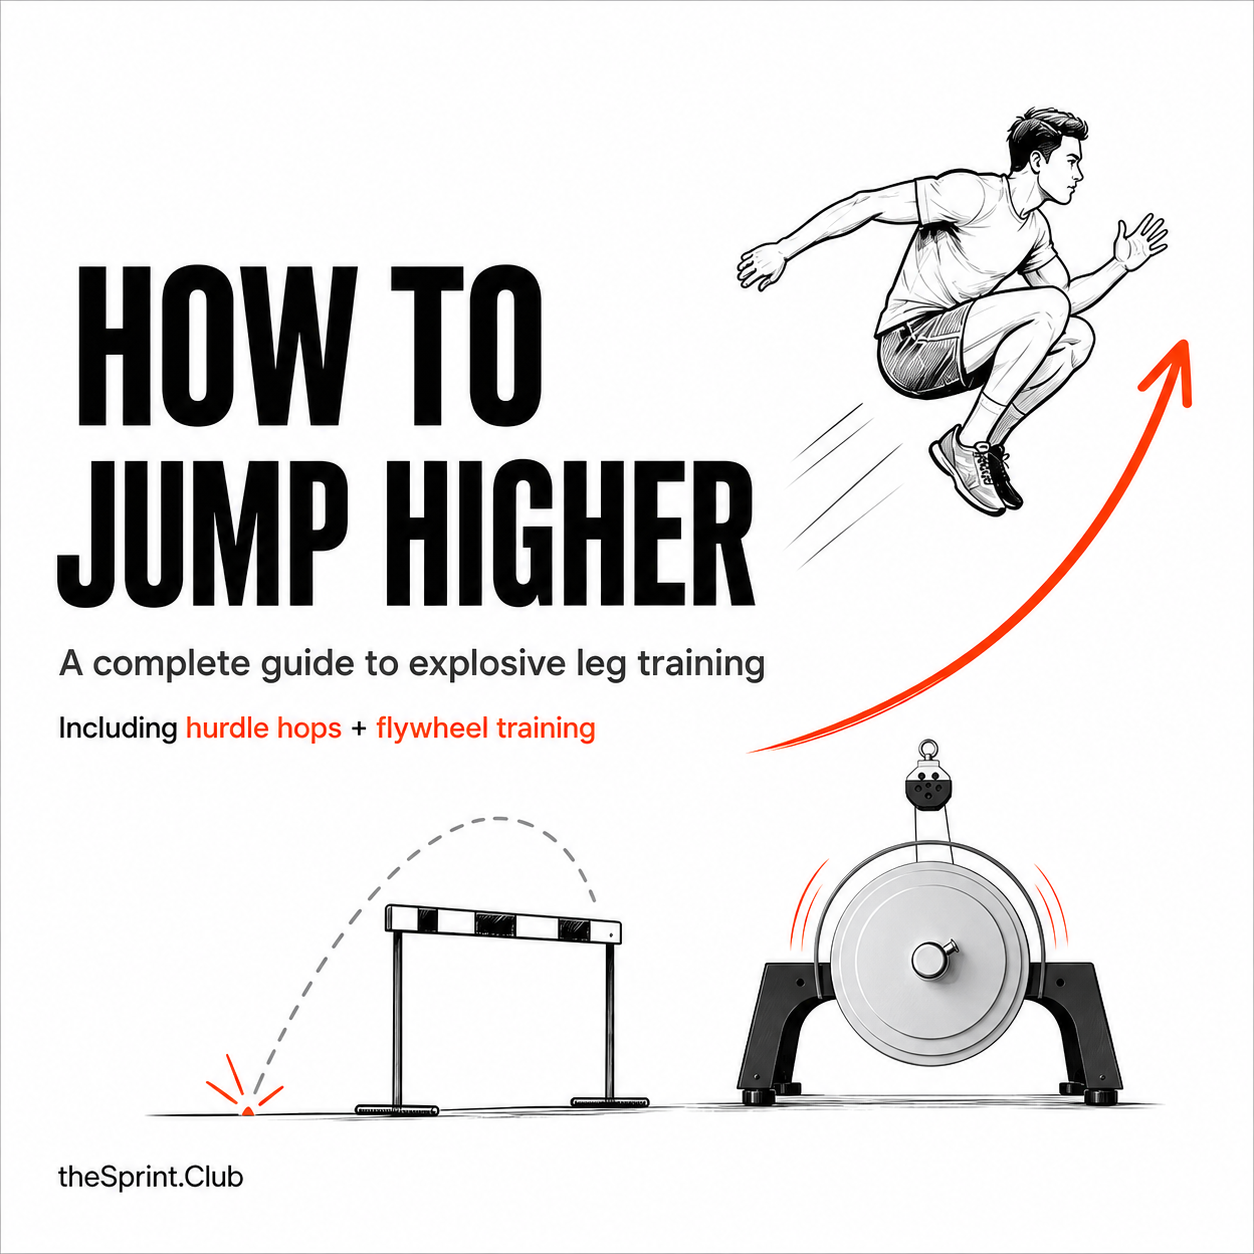
How to Jump Higher: A Complete Guide to Explosive Leg Training
|
|
|
|
Want to jump higher? This guide breaks down the strength, stiffness, reactive power, and recovery principles behind explosive jumping. Learn how to use hurdle hops, flywheel training, plyometrics, and smart strength work to build more force, waste less energy, and rebound faster.
|
|
|
|
|
|
|
|
|