|
|
|
|
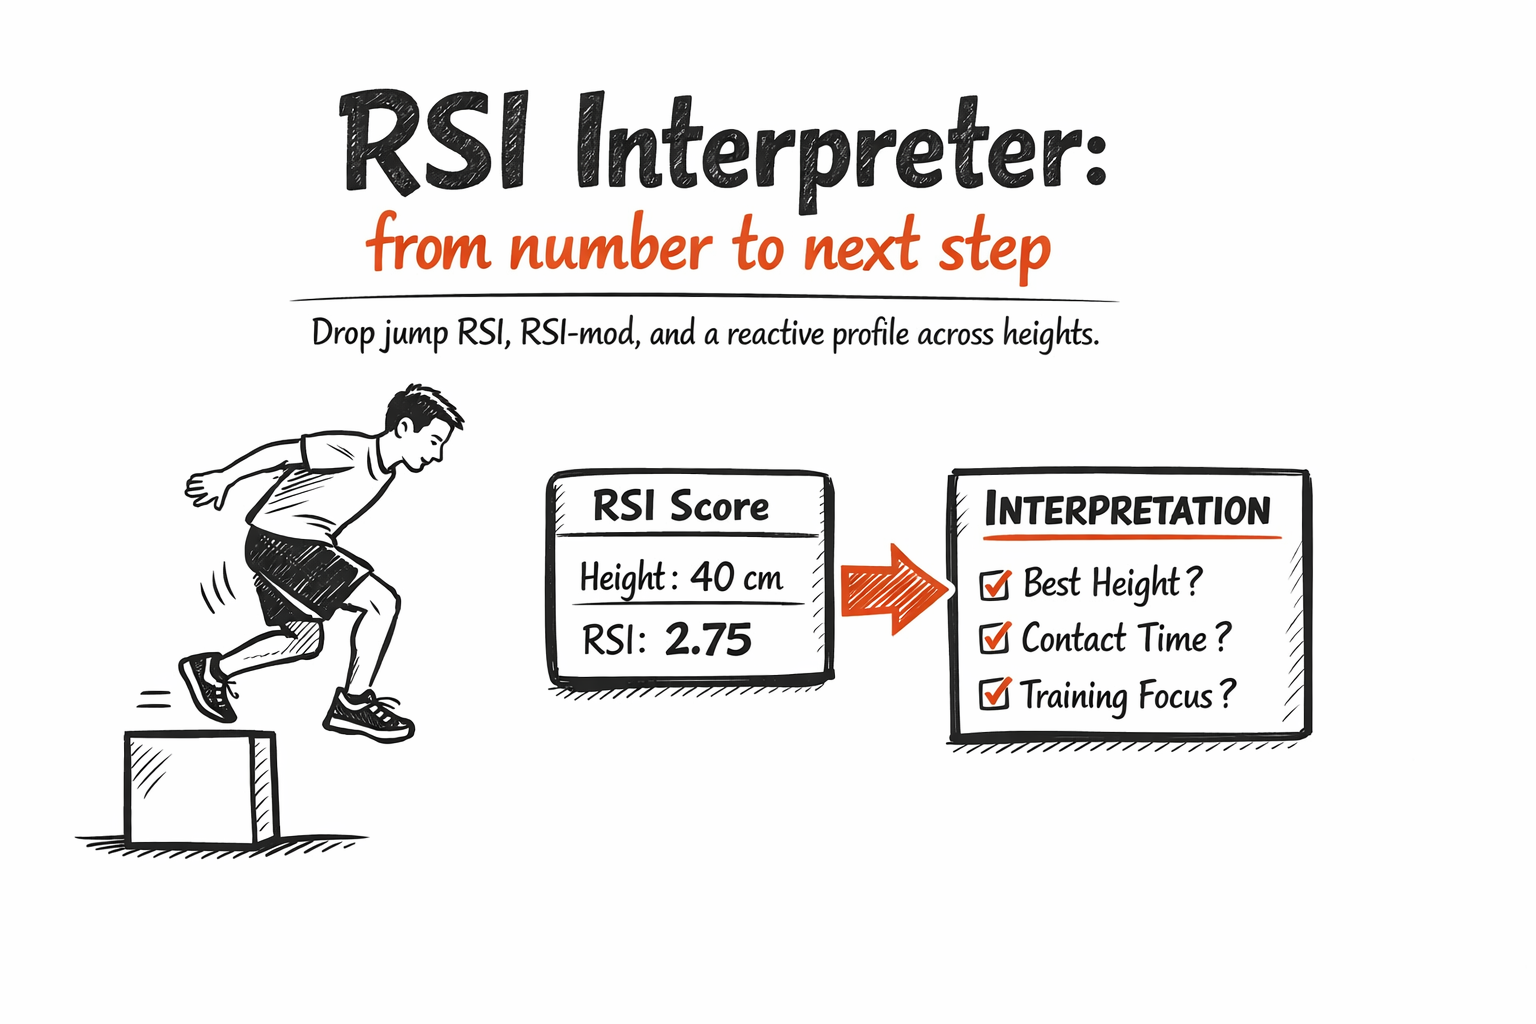
RSI Interpreter, from number to next step
Fast. Springy. Looks like a cheetah on caffeine.
|
Then they test RSI and the number is… fine. Not scary. Not impressive. Just “fine.”
|
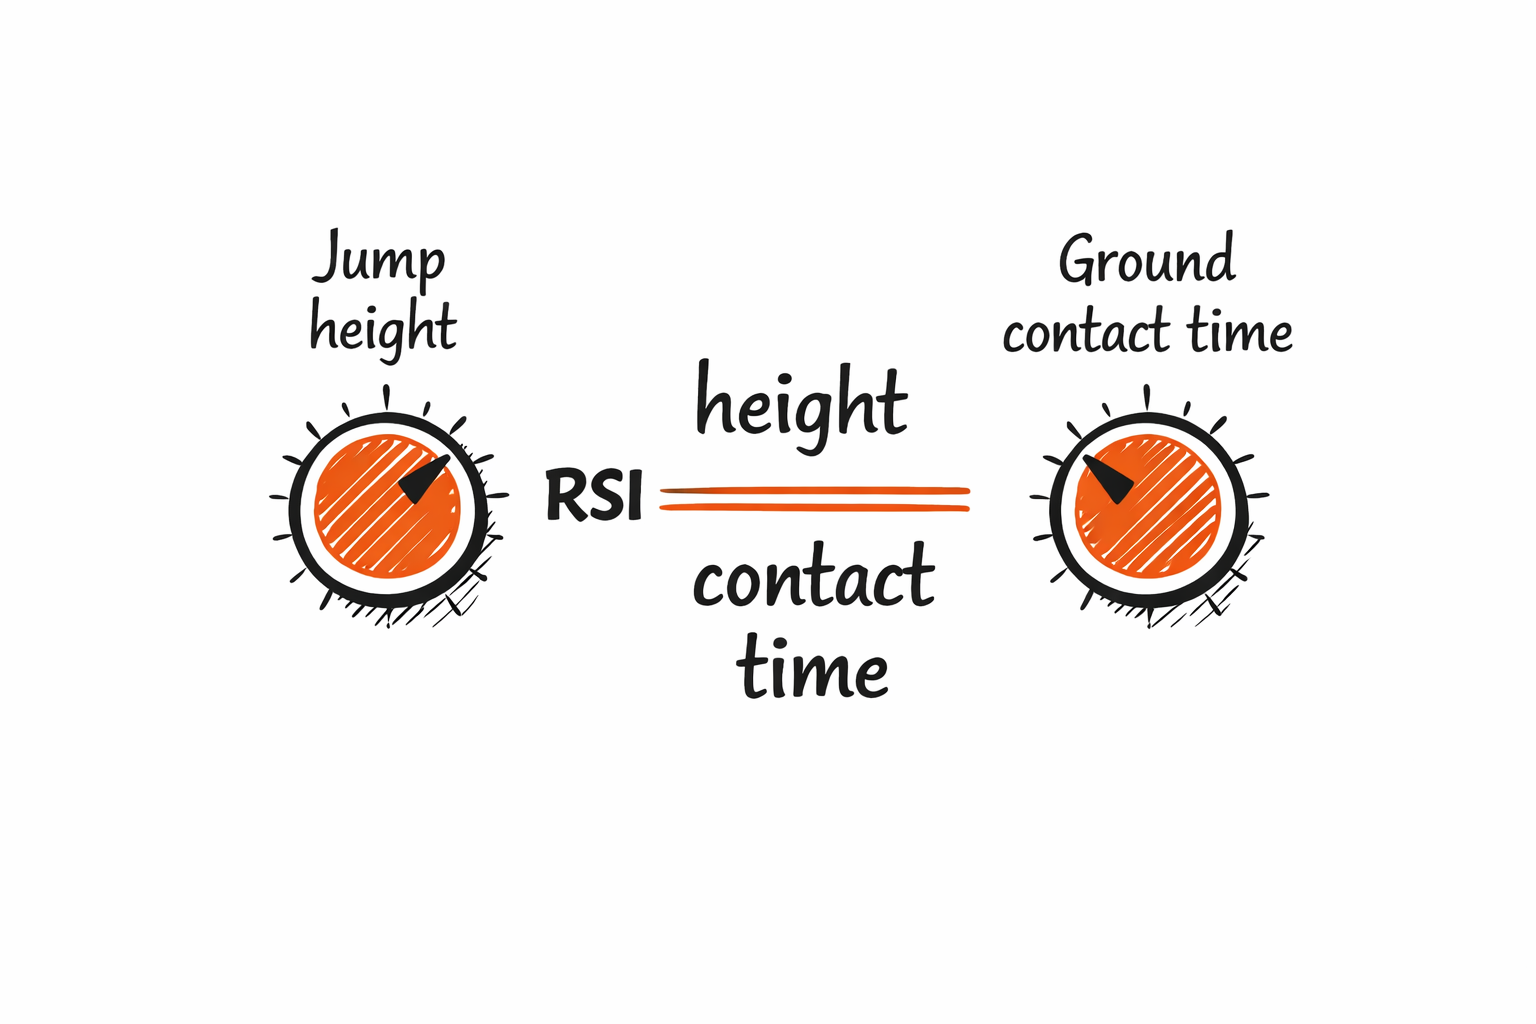
Here is the problem. RSI is not one thing. It is a ratio. It is jump output divided by time on the ground. That means two athletes can land on the same RSI for totally different reasons, and they need totally different training.
|
|
Your RSI Interpreter exists to stop that guessing.
|
|
|
|
|
The 15-second refresher: what RSI actually is
Jump height ÷ ground contact time (GCT)
|
Your tool lets you enter drop-jump RSI using either:
|
-
-
|
flight time (and it estimates jump height from flight time).
|
|
It also supports RSI-mod (jump height ÷ time to takeoff) if you want a CMJ-style option.
|
|
|
|
Quick Wins
-
|
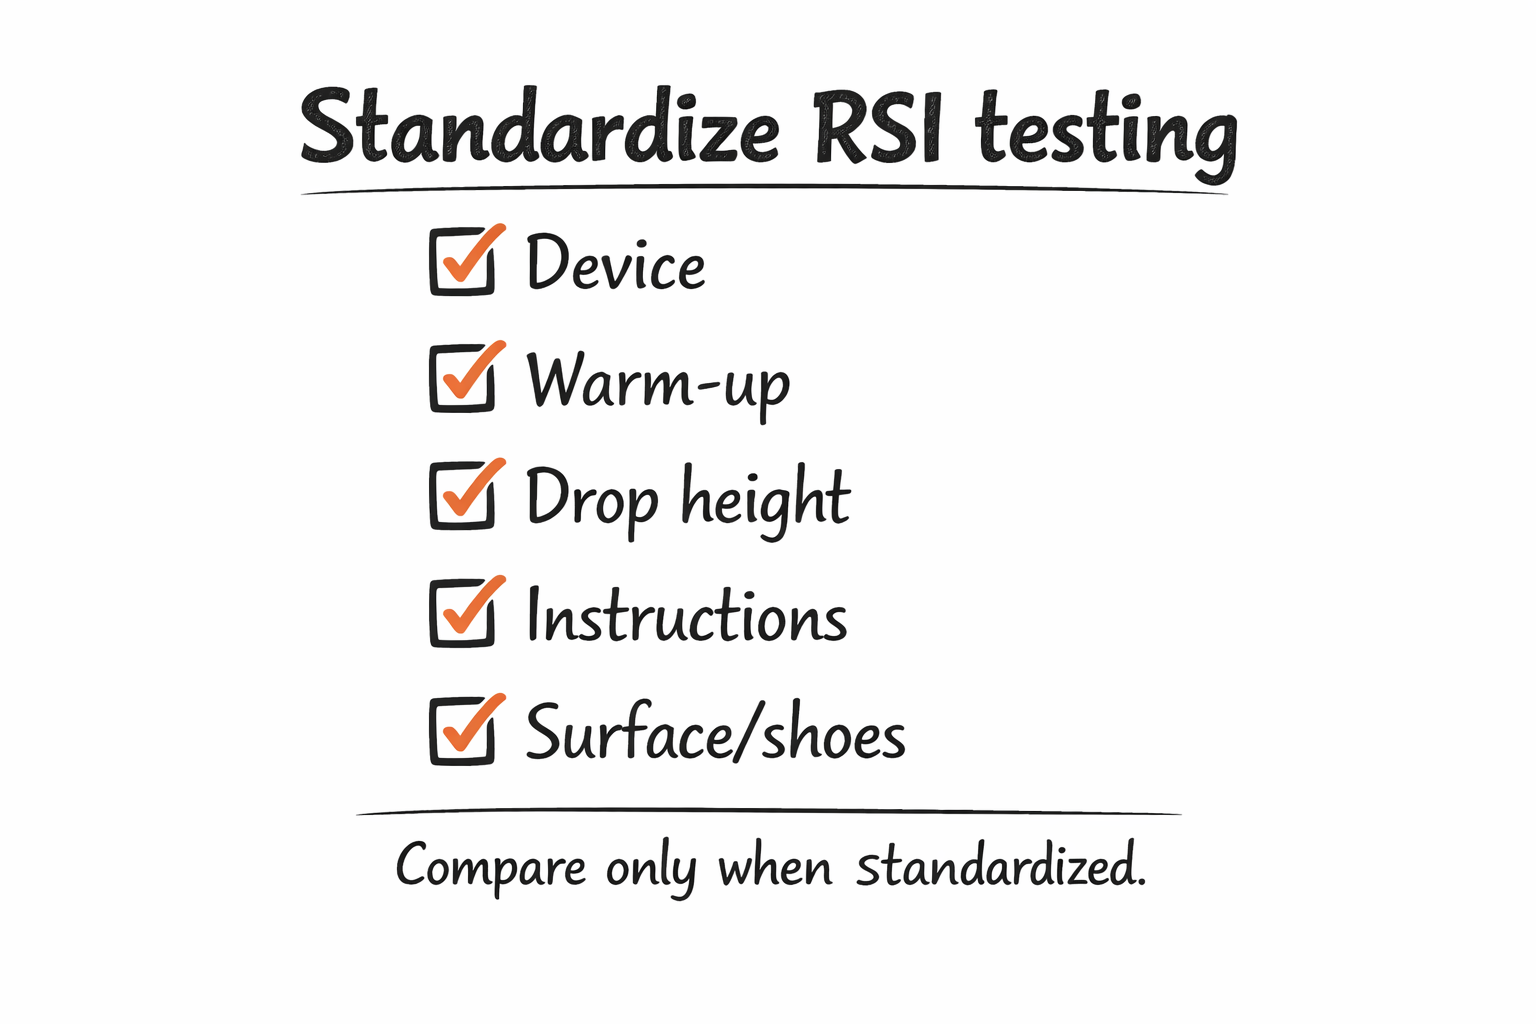
Standardize, or do not compare. Same device, warm-up, drop height, and instructions.
|
-
|
Stop worshiping the score. Read the parts. Your interpretation should start with: “Was height the limiter, or was contact time the limiter?”
|
-
|
Use the fast-SSC flag as a clue, not a trophy. The tool highlights contact time under 0.25 s as “fast SSC range.”
|
-
|
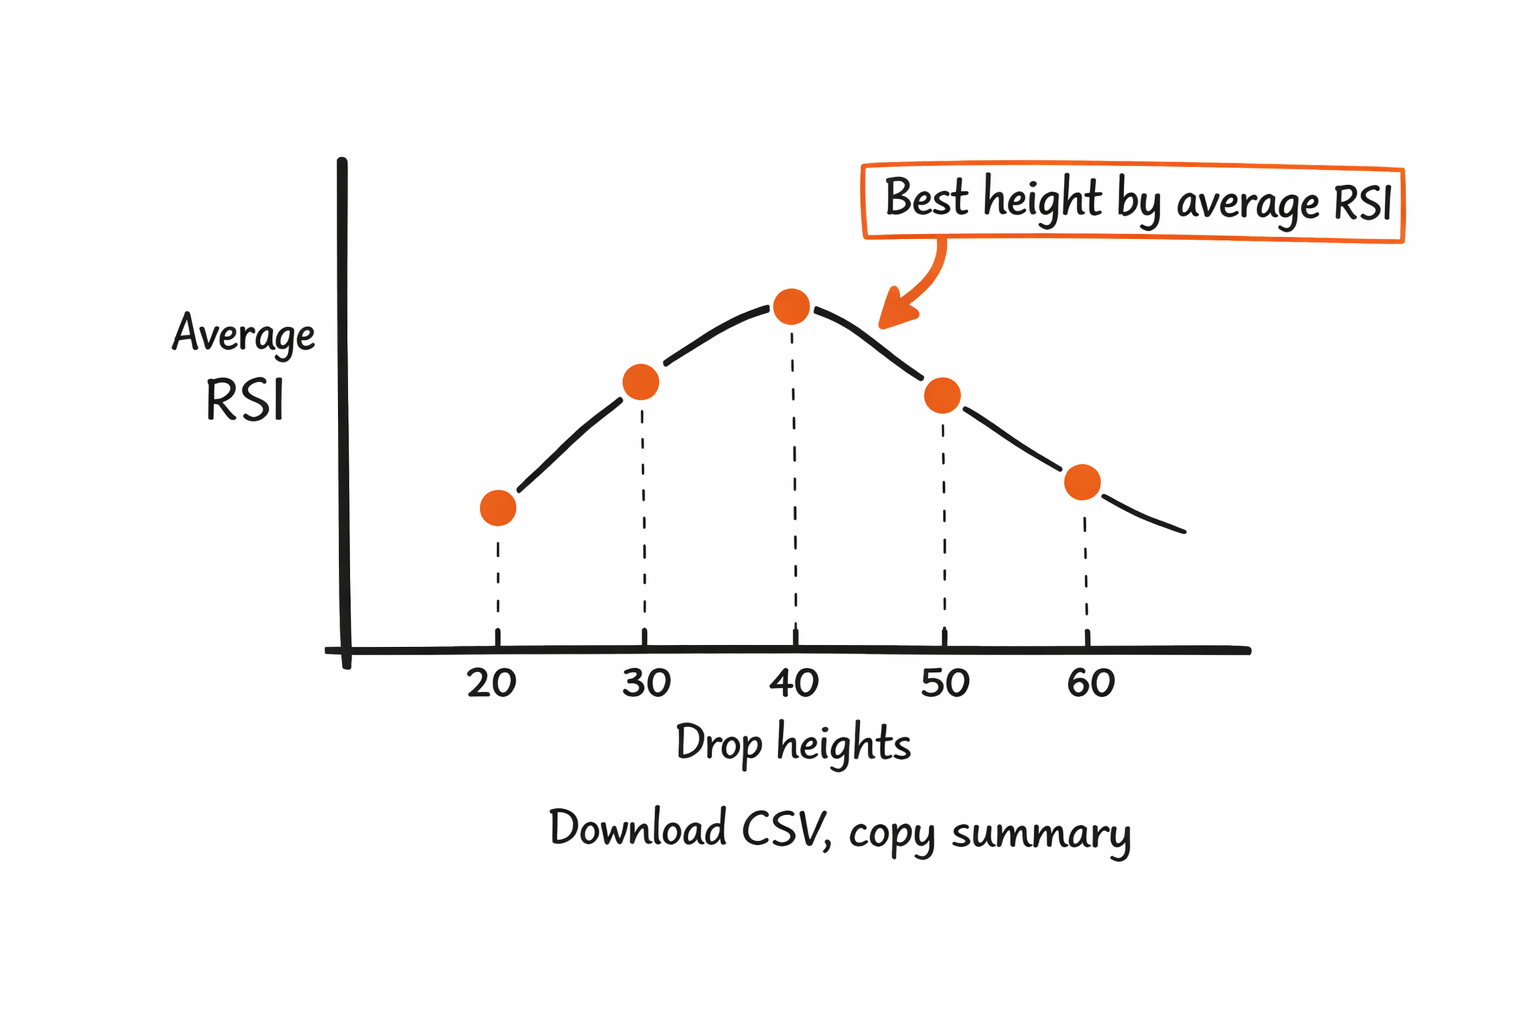
One number can mislead. Build a profile. Use the Incremental Drop Jump RSI Series to find the drop height where the athlete expresses their best average RSI under your protocol.
|
|
|
Run this test today in under 10 minutes
If you only do one thing this week, do this.
|
-
|
Pick 3 to 5 drop heights you can repeat safely (example format: 20,30,40,50,60 cm).
|
-
|
Do multiple trials per height (same shoes, surface, box, device, warm-up, and rules).
|
-
|
Enter either jump height or flight time plus ground contact time for each trial.
|
-
Click Calculate series and look at:
|
-
-
-
|
best height by average RSI
|
-
|
trial-to-trial consistency
|
-
-
|
Export it. Download CSV for logs, or Copy summary into your notes.
|
|
|
|
|
|
|
|
|
How to “act on it”, the two-knob playbook
Think of RSI as two knobs you can turn.
|
Knob 1: Jump height is the weak link
|
If the athlete is not getting much height even when contacts are not slow, you are missing output.
|
Training implication (broad, not magical):
|
-
|
prioritize strength and concentric power development
|
-
|
keep jump skill in the mix
|
-
|
do not crank drop height to “force” reactivity before the athlete owns positions
|
Knob 2: Contact time is the weak link
|
If the athlete gets decent height but spends too long on the ground, you are missing stiffness and fast elasticity.
|
-
|
prioritize low-amplitude elastic contacts and progressions that build reactivity
|
-
|
earn higher intensity depth work by keeping contacts sharp and consistent first
|
|
|
|
|
|
|
|
|
|
Thanks for reading. See you soon!
|
|
|
|
|
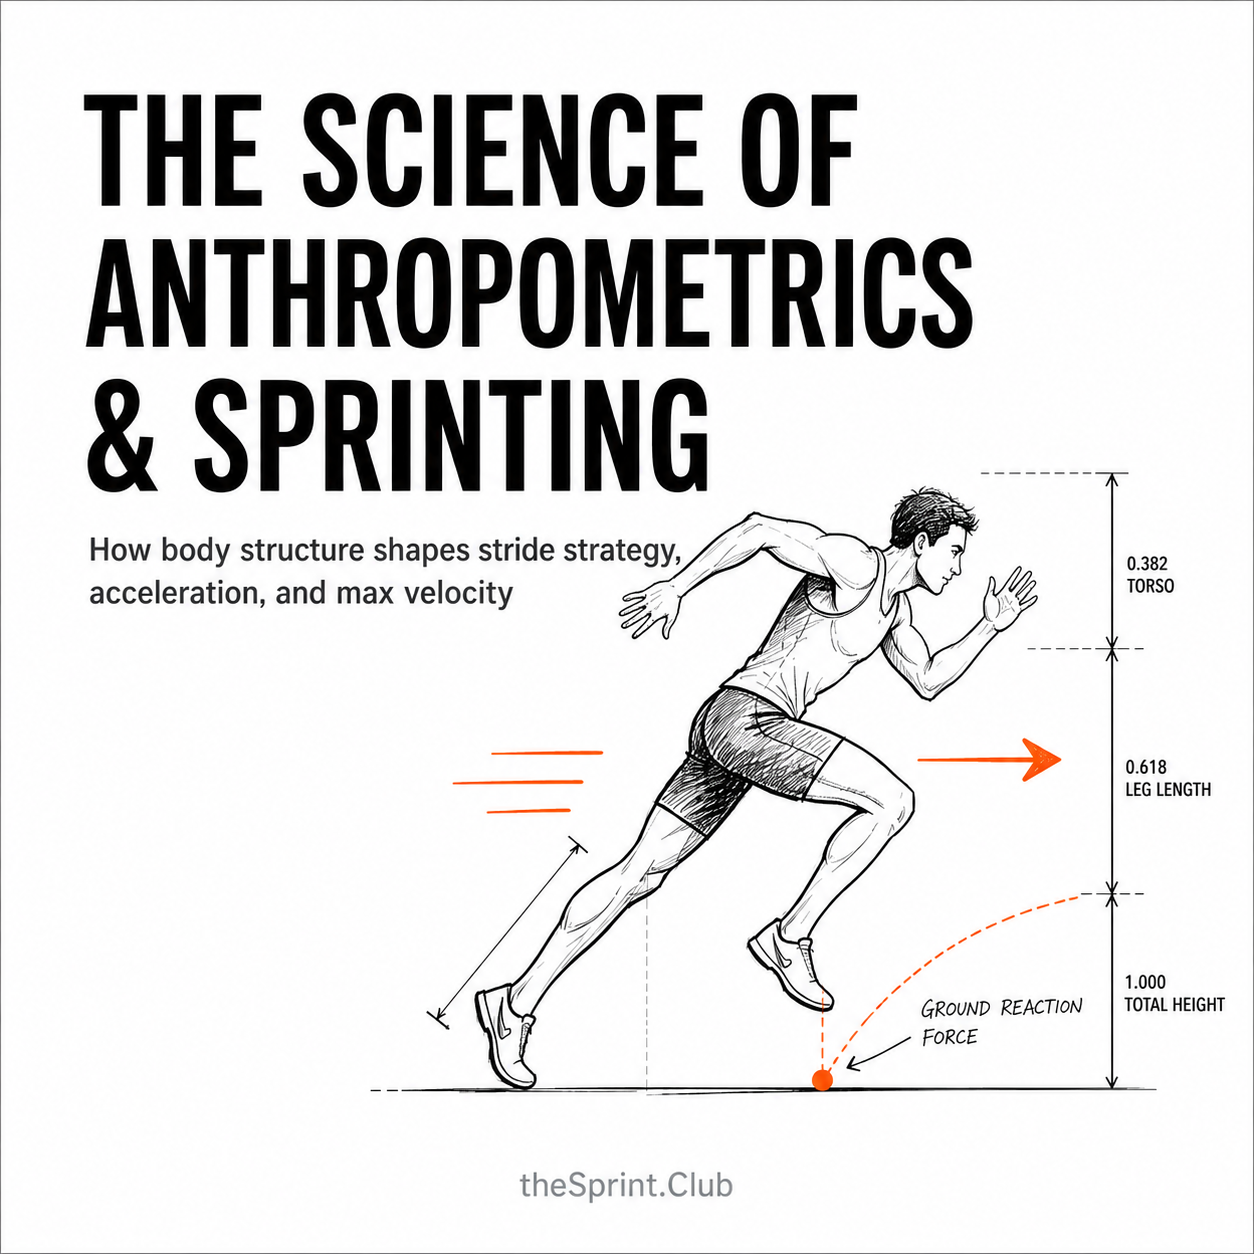
The Science of Anthropometrics and Sprinting
|
|
|
|
Anthropometrics do not determine whether an athlete can sprint fast, but they shape how each athlete creates speed. This post explains how height, limb length, torso proportions, body mass, and stiffness influence acceleration, max velocity, stride length, stride frequency, and sprint technique. Learn how to use body structure as a coaching map instead of forcing every sprinter into the same model.
|
|
|
|
|
|
|
|
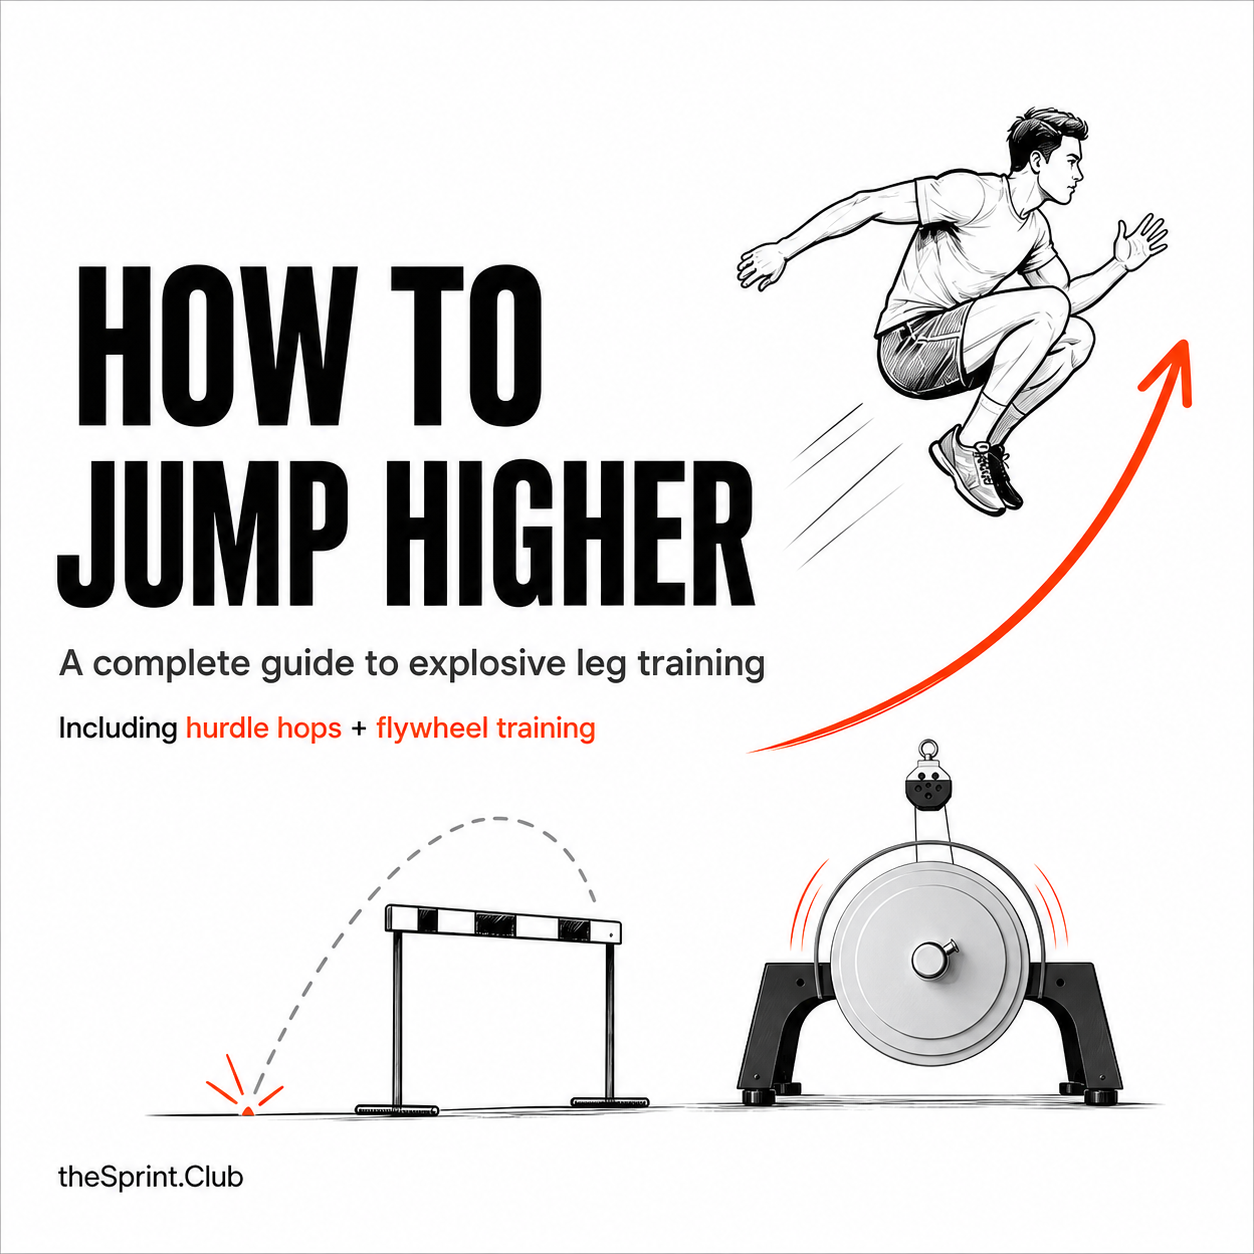
How to Jump Higher: A Complete Guide to Explosive Leg Training
|
|
|
|
Want to jump higher? This guide breaks down the strength, stiffness, reactive power, and recovery principles behind explosive jumping. Learn how to use hurdle hops, flywheel training, plyometrics, and smart strength work to build more force, waste less energy, and rebound faster.
|
|
|
|
|
|
|
|
|